Once PRA has issued your POS ID and access token, setting up eIMS takes five steps: enter your business profile and PNTN, register each branch with its own POS ID and token, assign a PCT code and tax rate to every service, submit a test invoice in sandbox, then switch the branch to production. PRA issues one POS registration per outlet, not per business.
First, the name of the thing you are connecting to
Most people call this "PRA digital invoicing" or "the PRA POS", and PRA's own staff will understand you if you do. But the system has a formal name, and it is worth knowing because it is the term that appears on the notifications, in the rules and on PRA's own portal: the Electronic Invoice Monitoring System, abbreviated eIMS.
It sits under the Punjab Electronic Invoice Monitoring System Rules 2019, made under section 76 of the Punjab Sales Tax on Services Act 2012. Your POS ID and access token are eIMS credentials. The invoice number that comes back is an eIMS invoice number, and it is the number a customer types into PRA's public eIMS invoice verification page to check that the receipt they were handed is real. PRA publishes its own eIMS user manual and installer on that same page.
Step 1. Add your business profile
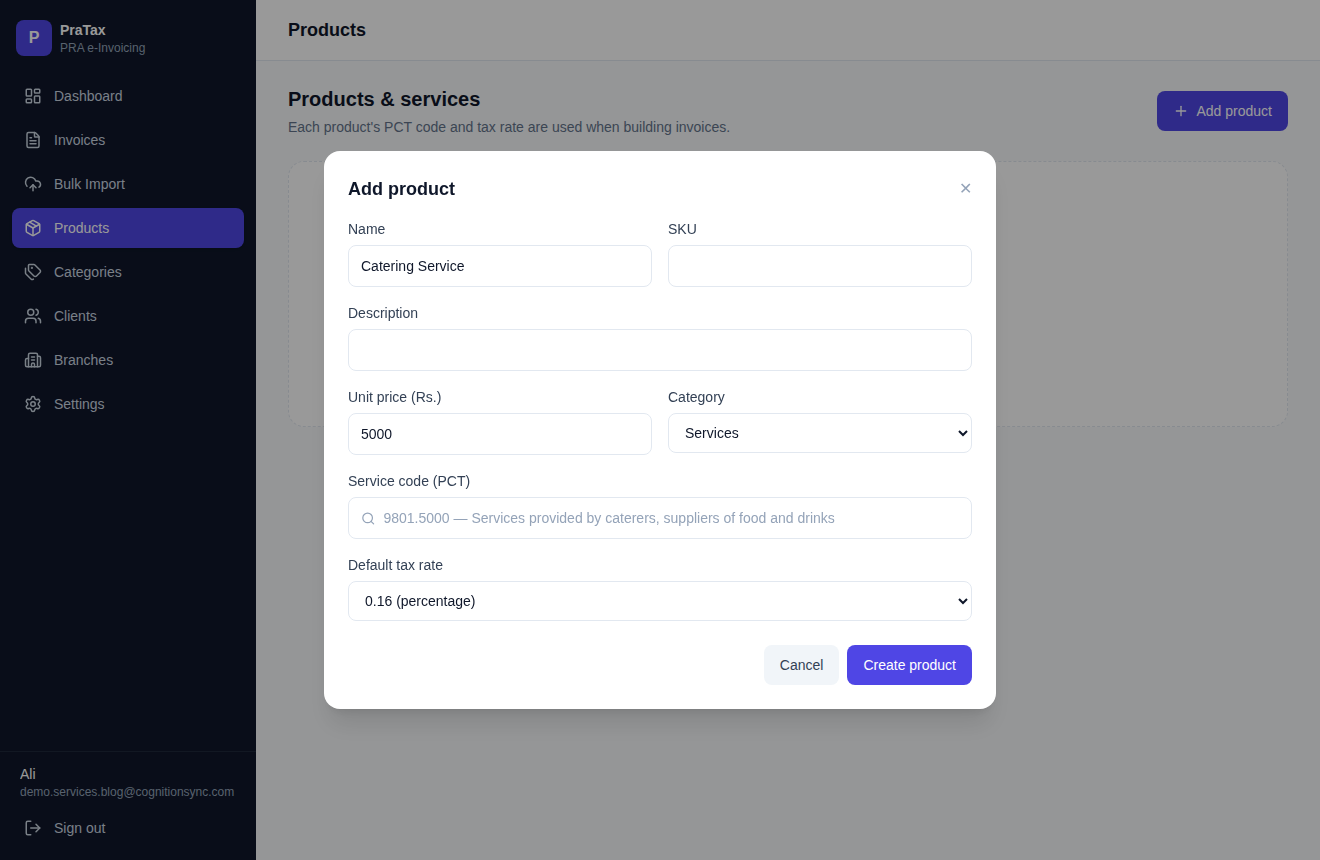
Before anything else, enter your business name, PNTN, address and contact details once. These print on the header of every invoice you generate, so it is worth getting them exactly right, matching what is on your PRA registration.
Step 2. Register your branch with your POS ID and access token
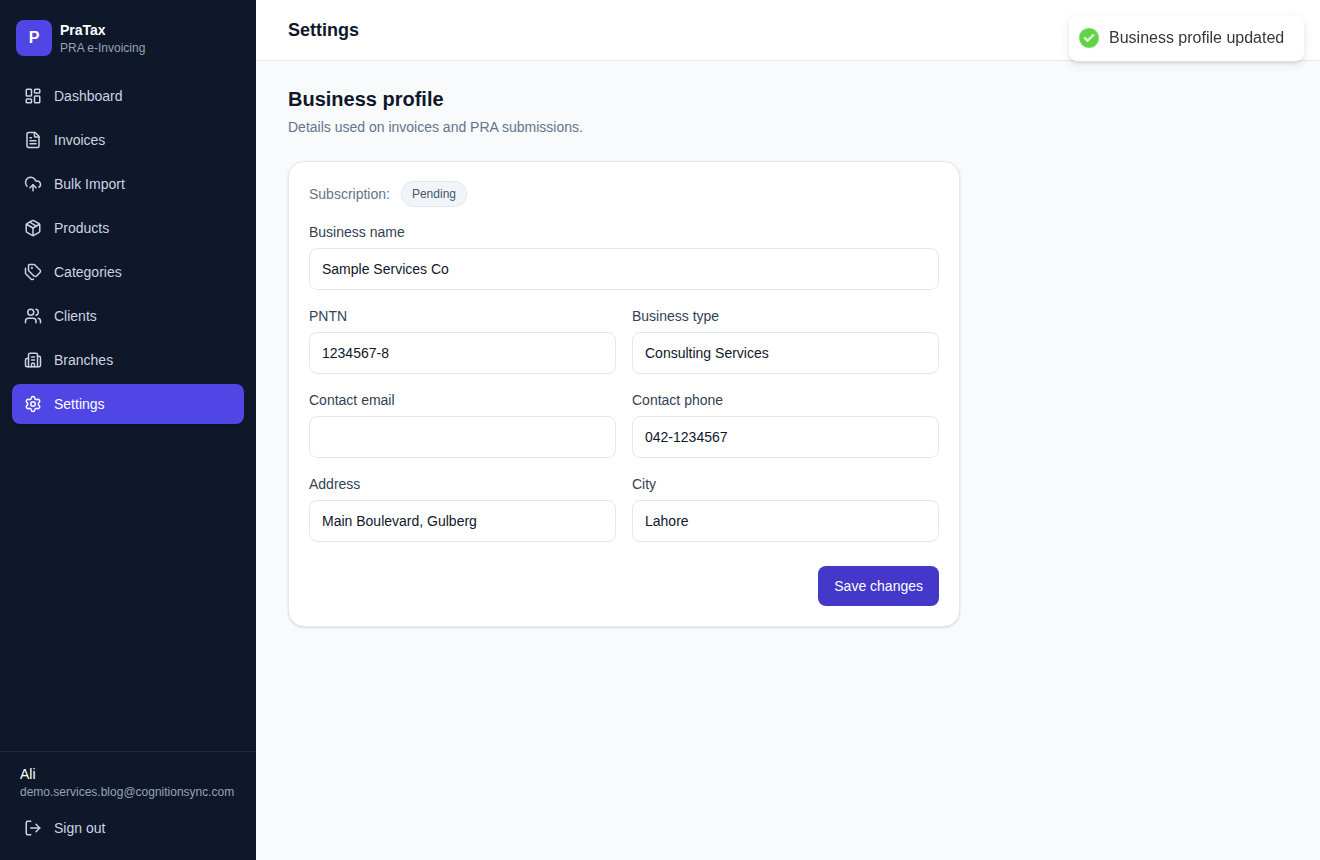
PRA issues one POS registration, meaning one POS ID and one access token, per outlet or counter, not per business. If you operate from a single location, you need one branch record. If you run more than one outlet, each gets registered separately with its own credentials.
When you add the branch, you will see a mode setting: sandbox or production. Leave it on sandbox for now. Sandbox uses the same POS ID and token structure but talks to PRA's test environment, so nothing you submit while testing becomes a real filed invoice.
Step 3. Set up your services once
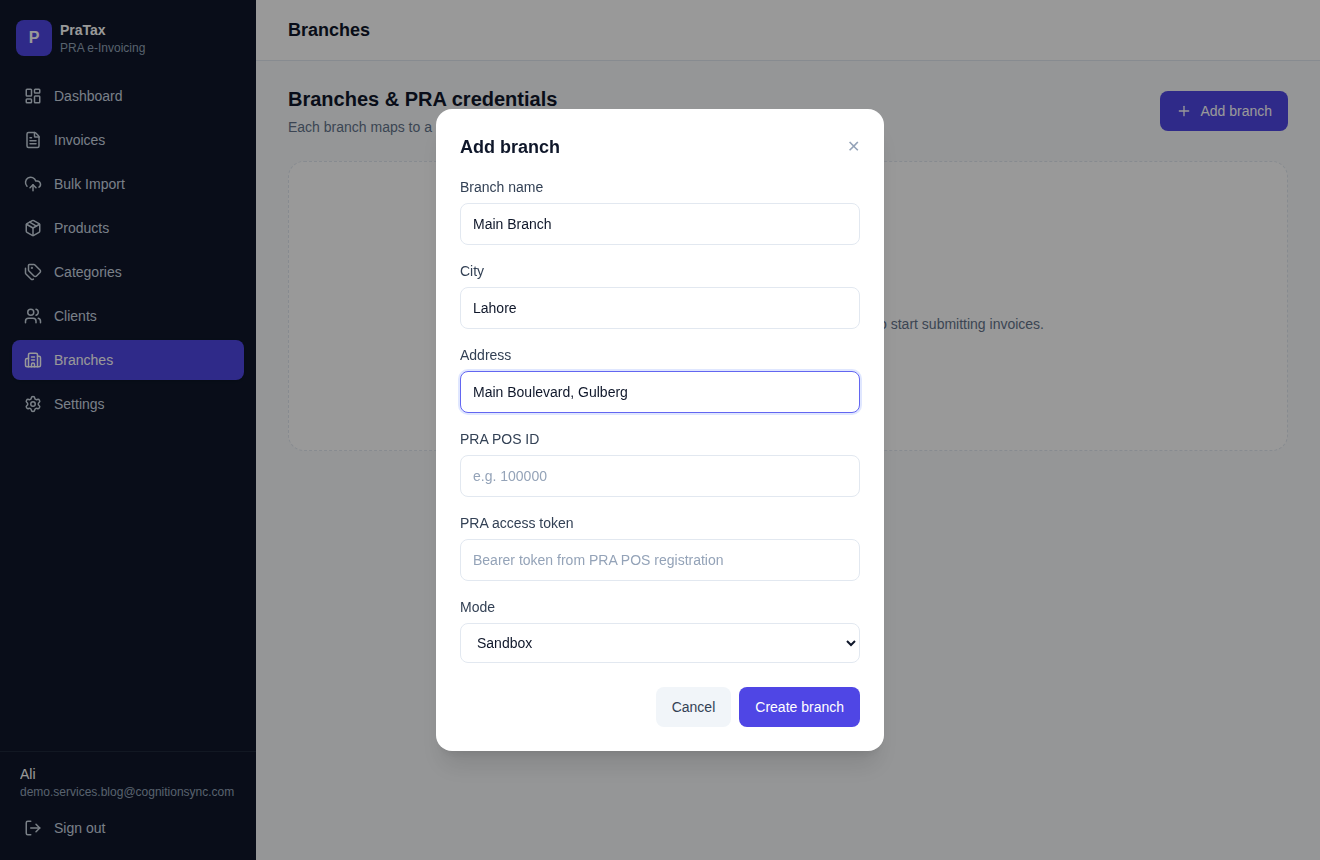
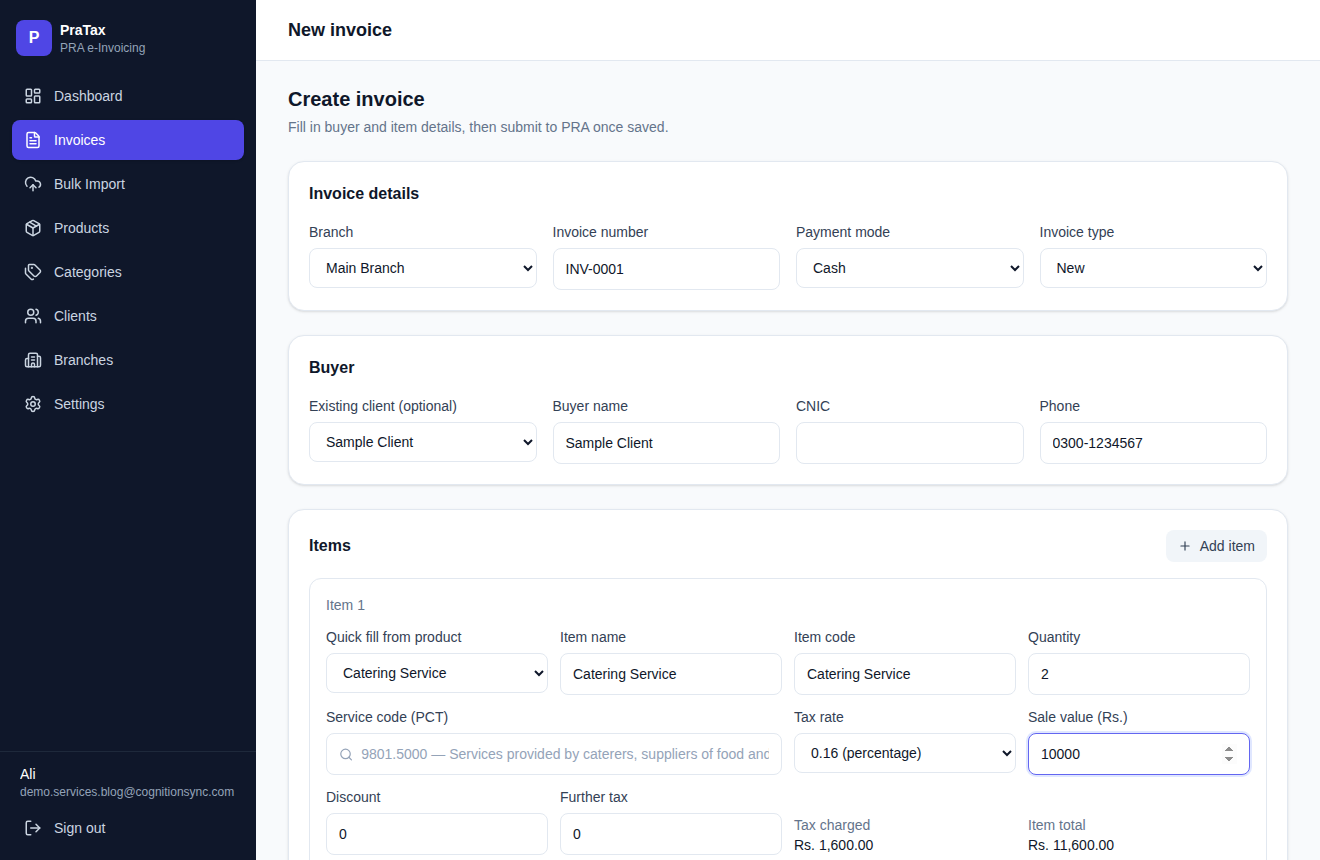
This step decides whether your first week is smooth. Every service you sell needs a PCT code, the tariff heading that tells PRA what kind of service it is, and a tax rate. Most Punjab service categories sit at the standard 16 percent rate, but confirm yours rather than assume it.
Set this up against each service in your product list, once, and every invoice after that pulls the right classification automatically. A few things worth knowing before you start:
- If you price by a fixed unit that is not a simple one-off, a per-daig catering charge, a per-person event rate, a per-hour service fee, set the unit price to your rate for one unit, and enter the actual quantity (daigs, guests, hours) when you build the invoice. The system multiplies for you.
- Search PCT codes by description, not just number, if you are not sure of the exact tariff heading. Catering, for example, sits under a heading that literally reads "services provided by caterers, suppliers of food and drinks."
- Get the classification right once here and you will not need to touch it again per invoice.
Step 4. Test in sandbox before you go live
With your branch still in sandbox mode, create a real invoice using your actual services and a sample buyer. Submit it. You will get back a genuine PRA response, either an accepted test invoice number or an error explaining exactly what to fix. Send a handful covering your normal cases: a straightforward single-item sale, a multi-line invoice, a walk-in buyer with no NTN. Fix anything that comes back before you touch production.
Step 5. Switch to production and submit
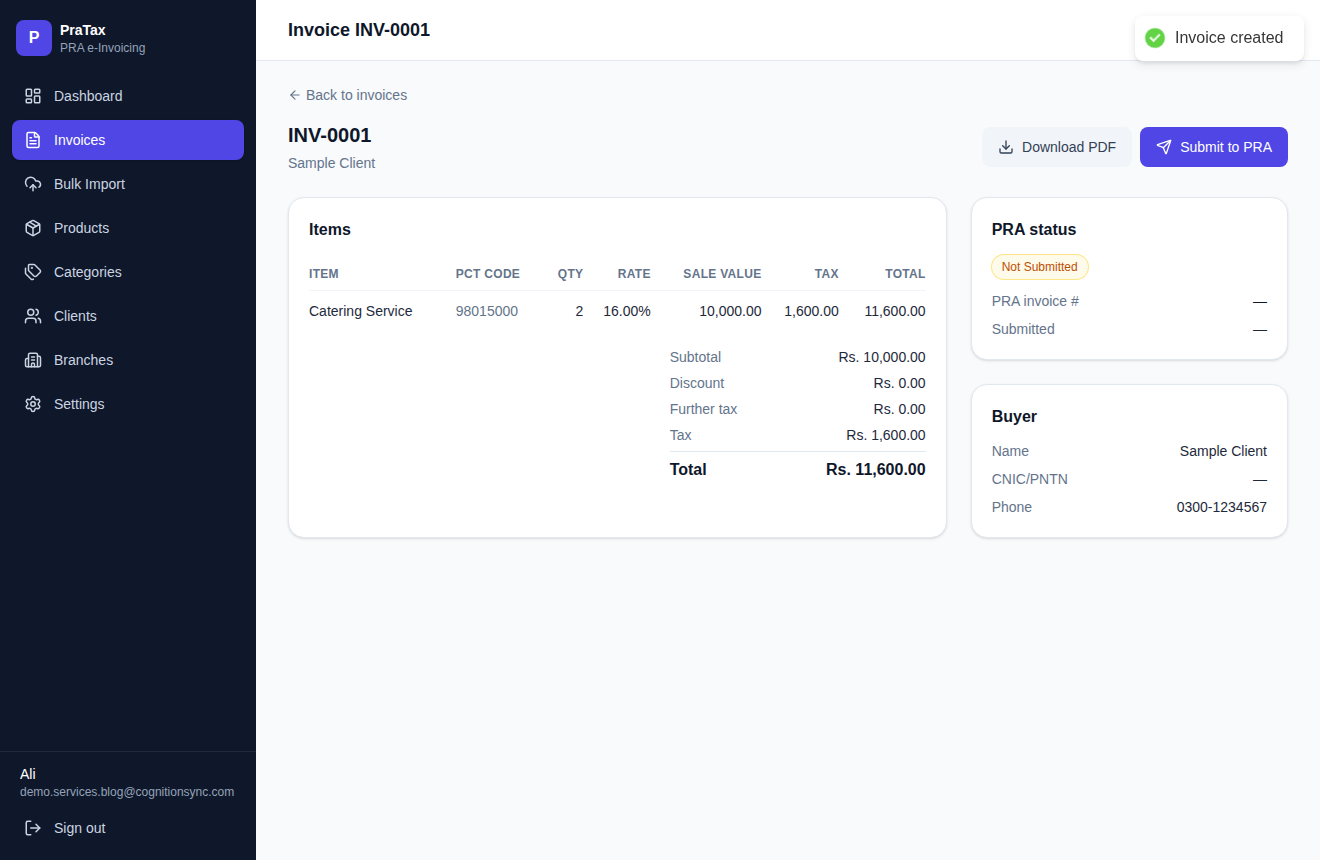
Once your sandbox invoices come back clean, open the branch record again and switch the mode to production. From this point, every "Submit to PRA" click is a real filing. Invoices come back with a real PRA invoice number and a QR code on the printed copy. Keep an eye on the first few, most first-week issues are a classification chosen for the wrong service, not a technical fault, and they are quick to spot once you see the actual PRA response.
What eIMS actually does with the invoice
Worth understanding once, because it explains several of the steps above. eIMS is a monitoring system, not a bookkeeping system. When you submit, PRA records the invoice at the moment of the transaction rather than waiting for your monthly return to summarise it. What comes back to you is an invoice number and a QR code, and what the customer gets is a receipt that can be verified independently of you.
That is why the classification step matters more than it looks, and why the sandbox step exists at all. A wrong PCT code is not a formatting problem that you can correct quietly at return time. It is a wrong record sitting in PRA's system against your registration, timestamped.
It is also why Punjab enforcement in 2026 has focused on receipts rather than returns. If you run a restaurant, hotel, coffee shop or marriage hall, the handwritten receipt is now the thing being looked for, and we cover that in what changed in August 2026.
A note on sales tax withheld by some clients
If some of your clients are withholding agents, government departments, large taxpayers, or a few other specified categories, they may withhold a portion of the sales tax shown on your invoice and deposit it with PRA directly, rather than paying you the full tax amount in cash. Under the Punjab Sales Tax on Services (Withholding) Rules 2015, this is usually one-fifth of the tax shown.
There is no separate field for this on the invoice itself, and that is by design, not a gap: the rule calculates the withheld amount as a fraction of the tax the invoice already shows, so the invoice has to carry the full tax regardless of who ends up paying which part of it. You create and submit the invoice exactly the same way whether or not the buyer will withhold. Tracking which invoices had tax withheld, and reconciling it against the withholding certificate the buyer issues you, is a bookkeeping step on your side at return time, not something the invoice itself needs to record.
PraTax connects to PRA for you
Once your POS ID and token are in, PraTax handles submission, the QR code, and record keeping. You enter the invoice, it does the rest.
Open PraTaxLast verified: 22 August 2026. Primary sources for this page: the Punjab Electronic Invoice Monitoring System Rules 2019, made under section 76 of the Punjab Sales Tax on Services Act 2012, as amended by the notification gazetted 15 July 2024; and PRA's own eIMS portal. General information, not tax advice. Confirm your obligations, and whether a specific client is a withholding agent, with your tax consultant.
Common questions
What is PRA eIMS?
It is the formal name for what most people call PRA digital invoicing or the PRA POS. The term is worth knowing because it is what appears on the notifications, even though PRA's own staff will understand either name.
How many POS IDs does a business need?
PRA issues one POS registration, meaning one POS ID and one access token, per outlet or counter, not per business. A single location needs one branch record; each additional outlet is registered separately with its own credentials.
What do you set up before submitting a PRA invoice?
Your business profile with name, PNTN, address and contact details, then each branch with its POS ID and access token, then every service with a PCT code and a tax rate. Most Punjab service categories sit at the standard 16 percent rate.
How do you test a PRA invoice before going live?
Leave the branch in sandbox mode and submit a real invoice using your actual services and a sample buyer. PRA returns a genuine response, either an accepted test invoice number or an error explaining exactly what is wrong.
What changes when you switch a branch to production?
Every submission from that point is a real filing. Invoices come back with a real PRA invoice number and a QR code, rather than the test response you get in sandbox mode.